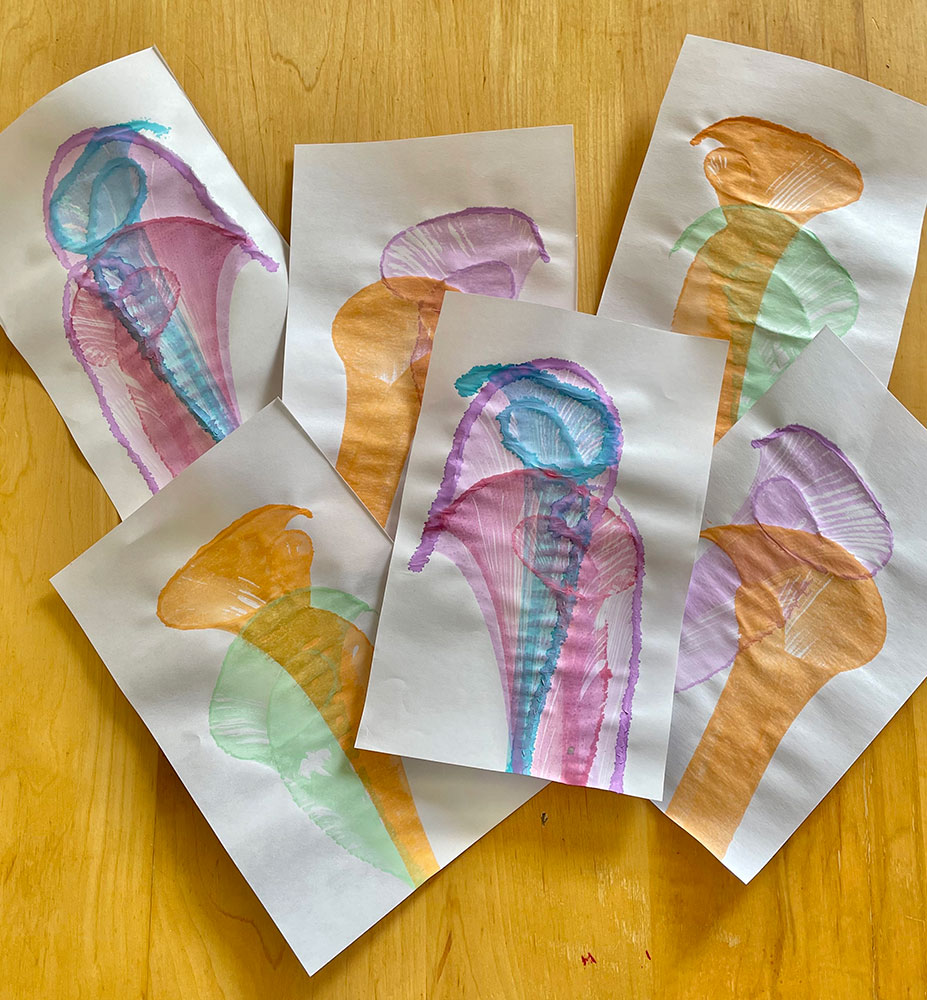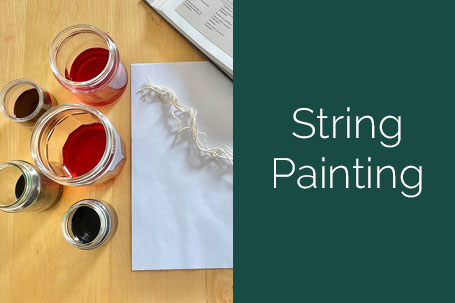
String Painting
Follow these instructions to learn how to make our very own easy and beautiful string painting!
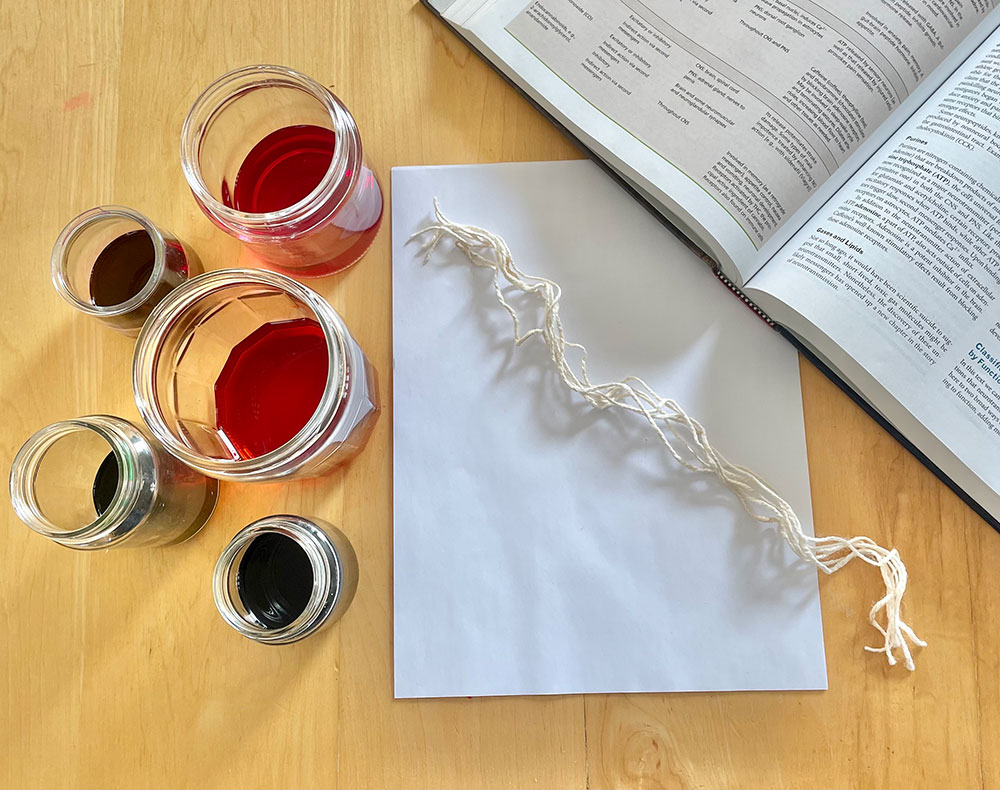
Supplies:
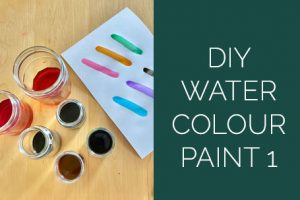
- Liquid watercolour (for instructions on how to make your own liquid watercolour check out our Make Your Own DIY Watercolour! post)
- Small jars or cups
- String (cut into 18 inch pieces)
- A heavy book (preferably one that you won’t mind getting a little messy)
- Printer paper
Instructions:
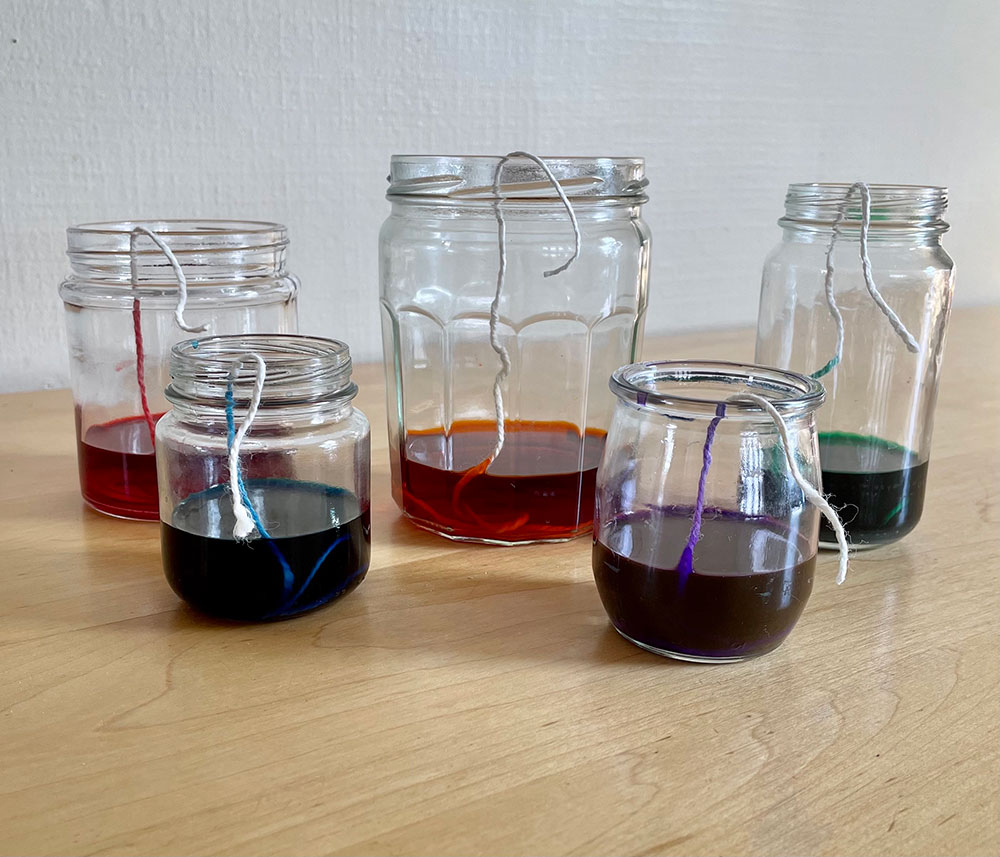
- Pour the liquid watercolour into your small jars (or cups). Make sure each colour has its own jar!
- Place one string in each jar leaving about 2 inches hanging over the edge to hold onto.
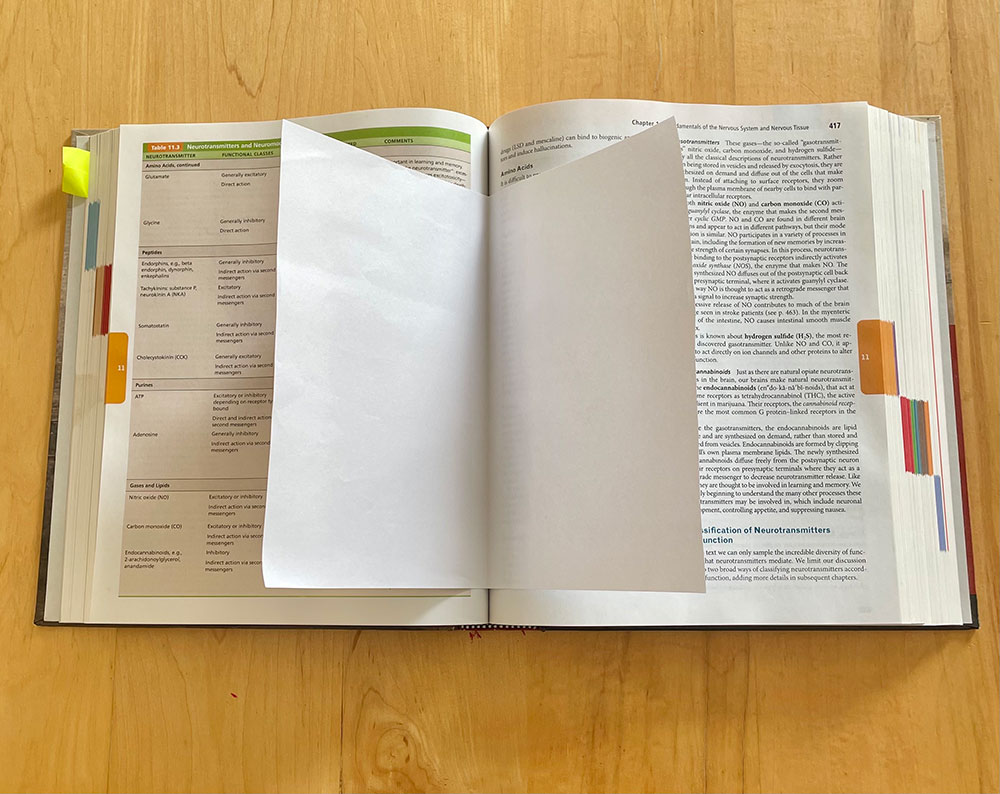
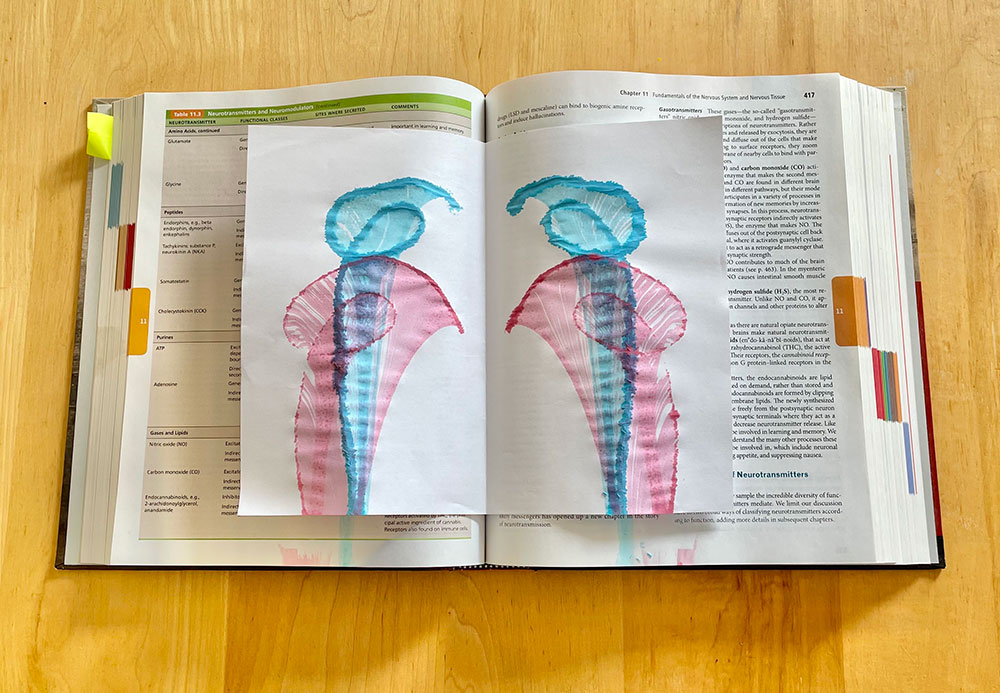
- Fold your piece of printer paper in half and put it in the middle of your open book. For extra protection, place a piece of wax paper between the printer paper and your book. This will help to ensure that your book stays clean and dry!
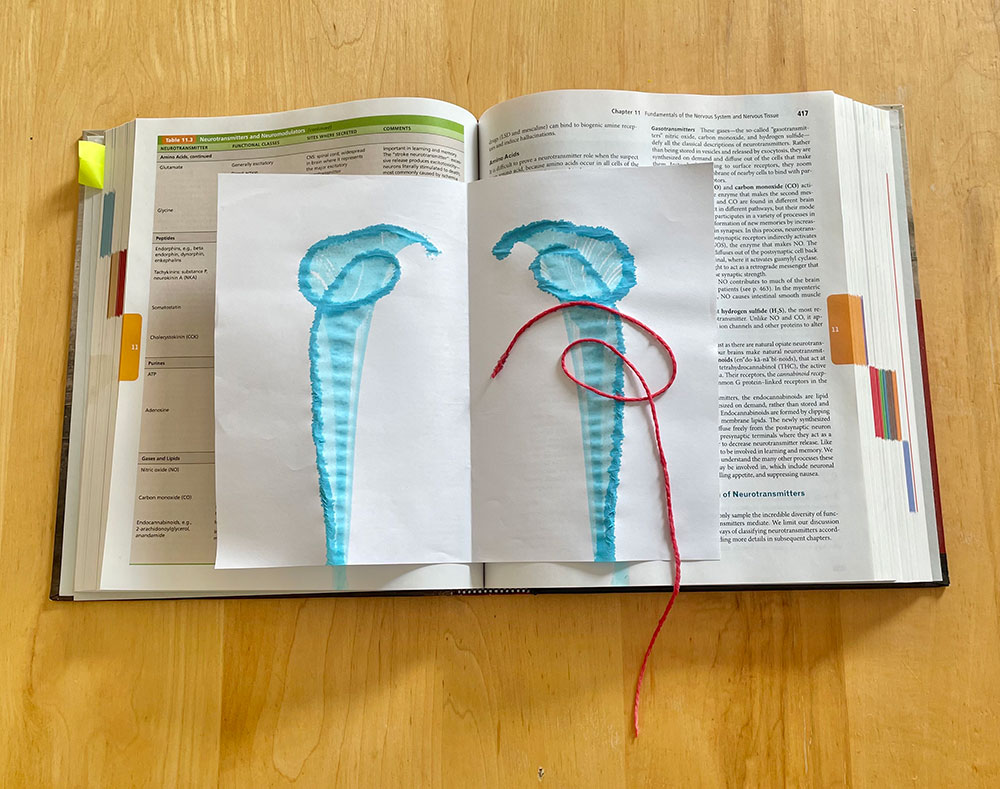
- Make sure your string is nicely coated with paint. Before completely removing the string from the jar make sure you run your fingers along it to get rid of any excess liquid.
- Place the string on one side of your paper (the side that will stay on the table when you close your book). You can make loops, squiggles, whatever you want. There’s no wrong way to place your string!
- Close the book. Press firmly on the cover with one hand and use the other to pull the string out of the book.
- Open the book and check out the results of your string painting!
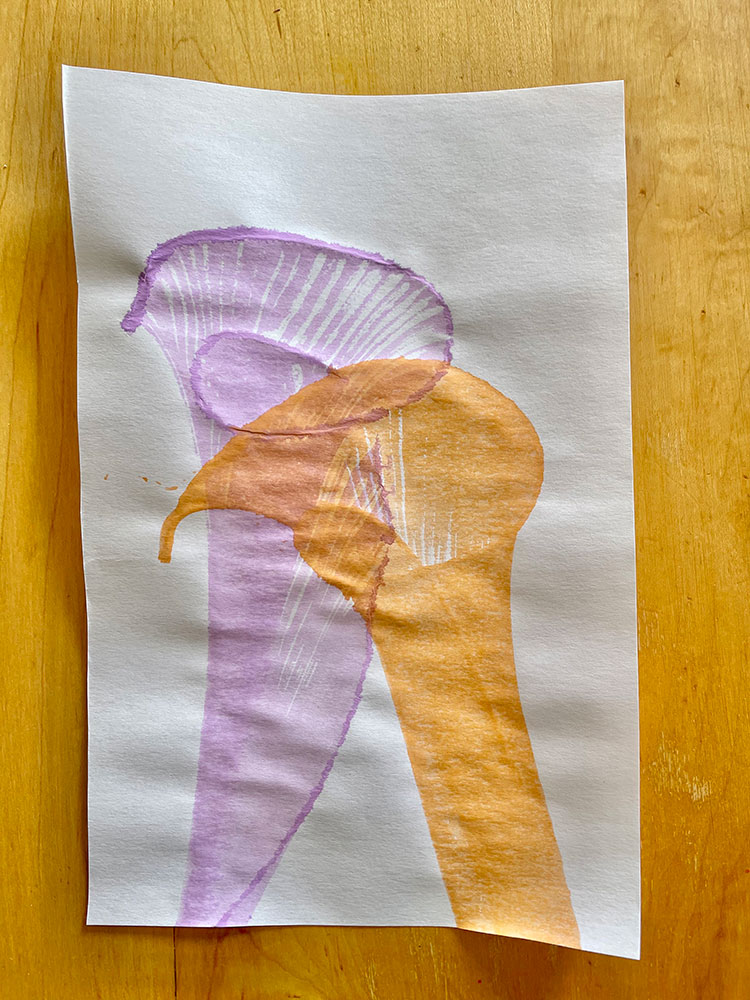
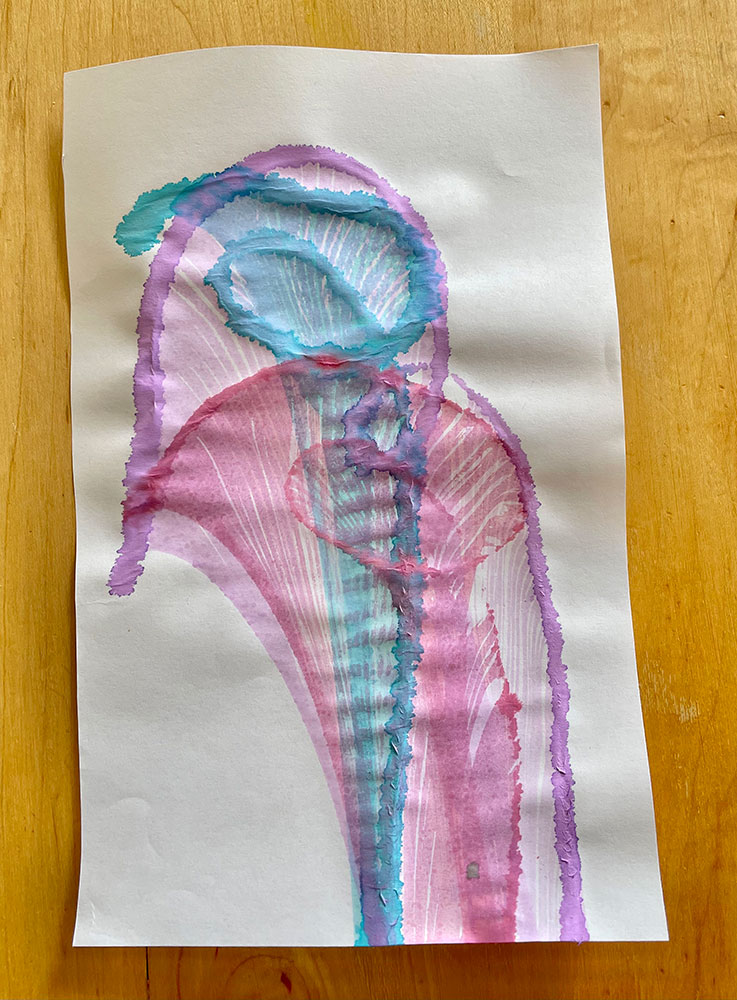
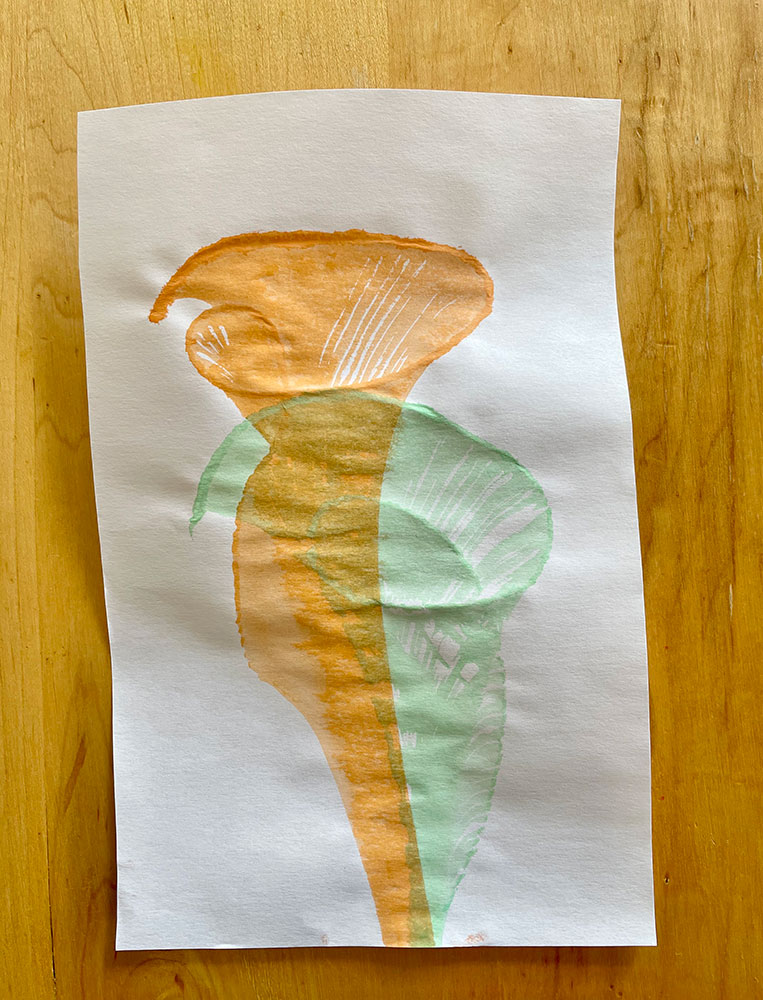
You can do it all over again with a different color on the same sheet. Repeat over and over with as many colors as you’d like!